Thursday, June 21, 2012

More to take out

Hi again all,

Foreward planks done
Well continuing with the portside I attacked the foreward damage, middle plank was scarfed in without having to cut the plank in two. top and bottom were butt blocks, then the plugs glued in and fairing all the planks with filler.


bottom plank patched


Of the 4 planks to do in the centre, the bottom one only needed a scarfed patch, this now done. Again fairing all the surrounding damaged surfaces with filler.


Next 2 pics of them primed.


Now the hard part. The 3 planks above have to be done next. And as I mentioned before my enthusiasm for taking the port bunk to bits and pieces had left me.
I tried every way I could to get at these planks from the inside with no success........so.......after a while, and picking my nose for a bit, shoving my finger down my ear, etc. etc. I knew I would have to look around for a bit of inspiration. I found this by crying into about 6 beers at the bar for a few hours.


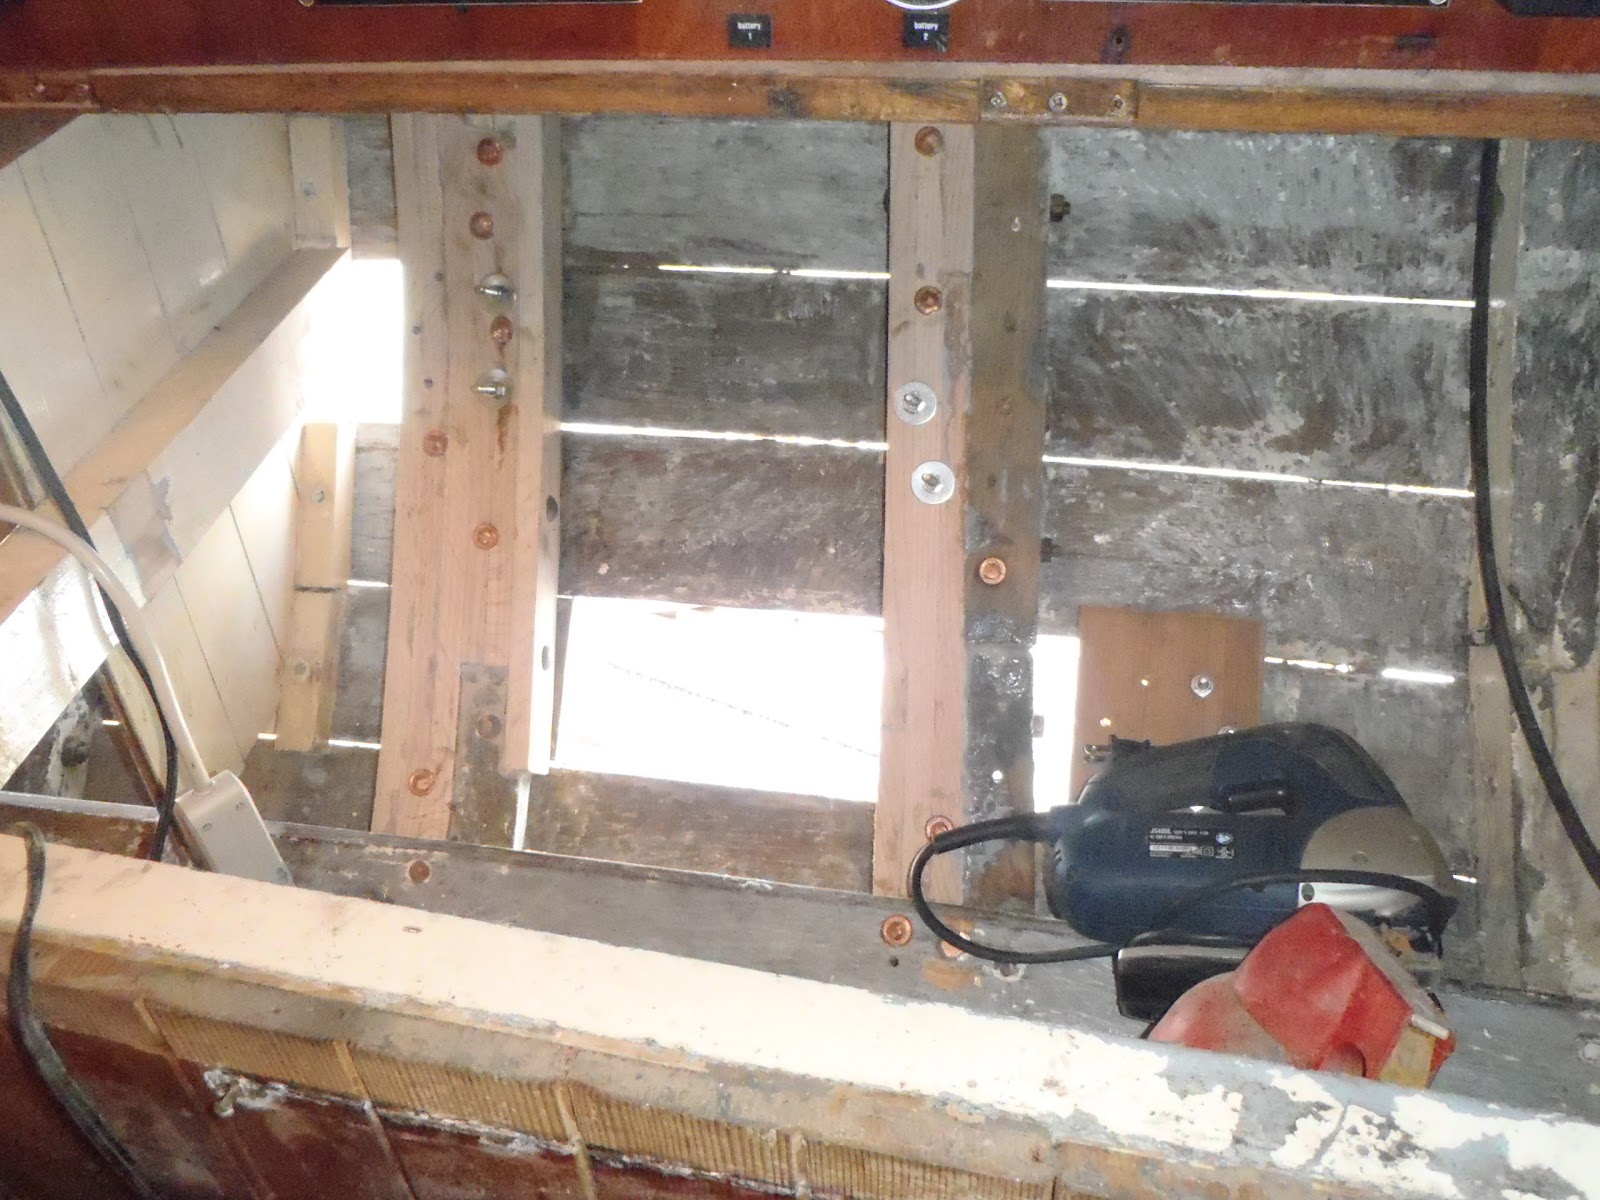
Back of bunk removed


 Now feeling terrid this morning I attacked the bunk with venom, it took all day but tonight I can get to everything I need to fix these planks.


Bottom part removed

As can be seen, access is now achieved.
So tomorrow I can start removing the copper nails and spiling the first of 3 planks to fit.


still more coming.

Roy

Saturday, June 16, 2012

Hi again all,
The picys today are a joy for me to post, after a lot of filling and sanding I reached the point were it required the first priming coat of paint. This is for 2 reasons, one is to protect the planks, its been some time now, and two is to see the 16,742,239.6666rec holes I've missed! But I have a boat back!

Add caption


Add caption

Add caption


Add caption


Add caption


So the first colour change has taken place, and the boat looks as if someone is looking after it at last.
 I have had many comments about it in the yard here.
Roy

Friday, June 8, 2012

Comparisons


Hi all,
More picys,
Cutting Plugs
Now time to put the plugs in over the nails, so they have to be cut in their hundreds!
Pic of me in Chris's open air work shop cutting them on his drill press.

Chris had already cut and fitted some for me, about 70 odd, I did the rest, another 162.


All bunged up 1
With all bungs in, 2 pics. I have begun to finally 'Butter', the planks.


All bunged up 2


Buttering the Planks

Reminder of the damaged plank surface's


  This is to stabilize the wood surface after all that rubbing and scraping on the reef. With all the plugs sanded down this is now in progress.


 It will take a bit of time to do, and after trialing various fillers I chose to use West System and the '407' light filler. I overhauled the overboard valves and fitted them sealed up with goo, before starting this job.

 And last pic is the port side plank removal. I did more damage to this side of the boat, in an hour and a half, than the reef did in 48hrs. I just hacked them out with no finesse! and I am glad to say, the frames are undamaged this side. A few loose fasteners to address, but it faired a lot better than t'other side.
I don't think I will be using copper nails though, All the damage is below the port bunk and galley stove, there is no room to swing a door mouse in there, I just haven't the get up and go to remove that lot, it will just have to stay were it is.
more and more coming.
Roy


Sunday, June 3, 2012

Hi Everyone,
Rough faired nailed and riveted
I have been carrrying on with work, so another few pics of the progress.


First Plank to be replaced comes off


Started to remove planks and fasteners on the starb. side.

My water tank is right here, so to access it the port bottom foreward bunk boards had to come out!


Attending to a delayed work to do job. (only 18 years late)
These boards were never finished in 1994 when I put them in, and have just been plain wood, with no protection, they have always swelled up with the damp, especialy when it became the wet room at the very begining of this voyage in 2009!


veiw 2


There are more of these under the bed, but they will have to wait, I have to have a nap somewhere now and again.


The dreaded Leargy, Mange  or a weird tropical disease
And this view of the boat at the moment. All on its own, I think I have a terrid, socialy unexeptable disease, I will call it 'Wooden Boat Syndrome' no-one with a fibre glass boat wants to come near. Scare de cats!
No really they change from 'boat yard' to 'boat storage yard' at this time of year, in preparation for the hurricane season. I just happen to be the last work in progress boat to be shafted, er I mean shifted, somewhere out of the way.


The big Moon
Some observations.
Took a photo of the supposed big moon, it chose that night to have high cloud cover. And it looked normal size to me.
I have been thinking, its 18 years I have owned this boat, and doing things like this to it.
 What will I be doing in 18 years time...at 83 years old, with a boat 94 years young at the dock?
My mind does wonder about a bit when I am sanding and varnishing.


Ah well, all for now, back to work.
Roy

Sunday, May 27, 2012

Planks '2'

Hi All,
 plank No 4 was spiled and cut on Friday afternoon, to give myself something to do fitting it over this holiday weekend. A couple of pics then of fitting this plank.
Offering up to mark adjustments

as above

A couple of views after fitting

Saturday evening

Ready for gluing on Sunday

It took me a long time to fit as I absolutly hate doing scarf joints. And by the way, this is the only scarfed plank in the entire boat at the moment!
So its Sunday now 1600hrs, the plank is all glued up. Bolts used to draw into position have been removed, and now ready for a rough fairing tomorrow when the epoxy on the joints has fully hardened.

Roy


Wednesday, May 23, 2012

Planks

Hi Again,
Well it was all go after finishing the fore foot. I took the first 2 spilings to the wood shop and cut the first plank. It then took me till last night to fit them. Went again this morning with No 3 and had it all fitted by 1600. Tomorrow its rove and rivet these three done and dusted. Only the two big ones left this side now.

More later
Roy

Sunday, May 20, 2012

Fore foot and Deadwood

Hi all,
So having spent another couple of days shaping sawing and sanding, the fore foot is now back in position, ready for the final sand and priming.

fore foot view 1
forefoot view 2
Thought I would leave the damaged bit in the photo as a comparison.


While I was doing this, I removed the deadwood to see what was going to be required for this, a repair or renewal. As you can see this is a biig lump of wood. Its made from English Elm, there is none of that round here, Quandary now is on what to do with it.


Deadwood view 1


It is the biggest single lump of wood on the entire boat, exept for the wood keel of course.


Deadwood view 2


So with the plank templates started I will think about the deadwood  at the same time.

Roy

Wednesday, May 16, 2012

Hull, Bow and Keel

Hi everyone,
Well work started on the few planks I need to replace on the starboard side. Quite amazing there is not that many I feel need replacing, that decision is based on the condition of the ones already removed, remarkable to say the least. First job though was to do something about the forest of nails sticking out of the hull. So driving the nails in and riveting them all up was next on the agender.
Forest of nails

Nails hammered down
 Each nail was wraped with caulking cotton single strand and 5200 sealant before driving them fully home. I left them for 2 days like that before starting the riveting.
 After that process Chris (Custom Canvas) armed with a sledge hammer took station outside, and with a dolly, held the nail heads fimly in place while I cut them to length inside and wellied the ends over the roves with a hammer. It took us 2 days but now below the hull shape is back to were it was. And also amazing, I re-tightened the rigging back up and to my great suprise and relief full tension was achieved in exactly the same place on the bottle screw threads
Hull now back in shape!
Battey locker view
 2 views of the inside after all the nails were finished
Rest of the boat view, Riveting isn't it?


Fore foot removed
 With that job done splined templates of the planks are in progress for replacing the planks required on this side. BUT......  There is no rest for the wicked, so while that is going on, the fore foot? (let me know if thats right) the little bit in front of the lead keel, needs TLC, as this bit, the lead Keel and the Deadwood down aft took the full force of contact with that hard stuff they call LAND. When I say little bit, its a big lump of wood! but compared to the deadwood it is little.

Damaged block. it used to be Oak.
 Pretty well chewed up for sure, and no saving this. Note how long the bronze bolts are! they took a while to get out as well.
Wedged in position to drill the bolt holes
 2 views of the core block before shaping I am using to replace it with.
view from portside
The core block is an unknown type of wood. I have asked everyone what it is. It is so heavy and dense it does not float! and Hard doesn't even start to describe it. Could be ironwood, red hart, or even lignum viti, don't think it lignum cos I've ruined a few chisels on a piece of that before.
 And finally a pic of me shaping the dammed thing. Note I'm hiding in the shade, it took a good half hour to saw the bit off I'm pictured doing here! Other bits are done in combination with power tools, I'm not completely stupid, this is hard work.

So work is continuing and now I can just about make out a glimmer of light at the end of the tunnel, well more like a loom really.

More later
Roy

Wednesday, May 9, 2012

Hi Guy's,
Well the last two repairs were a bit difficult and have taken some time. These are frame 17 and 18, the last two. 17 sister I knew about but found the frame gone as well! just in this place the plank had split and the split part had snapped. Must have been a coral head I hit when flipped over as very concentrated damage. The other prob was the nav station and battery compartment, I just didn't want to remove all that as well, so did it in situ.


Frames ready for template


General view now


The plank removed after frame installed
Finished repair, notice new butt block for attaching new plank
 So Now all frames I am doing this side are done! today Wednesday I start nailing it all up!
More coming
Roy


Friday, May 4, 2012

Work begins on hull

Hi everyone,
second plank off starb side

looks more like this

outside view
Just a quickie. The wood arrived for the planking repairs Wednesday so work began imeadiatly on the Hull. just a coulpe of pics

Wednesday, May 2, 2012

Hi all,
Well the repair to this frame 8a has fought me all the way, 3 days, each one a different struggle. The 3 following pics of the finished repair show, I think, how complicated this join from the beam to the deck and hull actually is. I found out of the 13 fasteners that should have been holding it together, only 4 were in place! the rest had been left out. Damage to the deck fastener holes was extensive and had to be replaced with plugs. The same applied to the hull side. The frame is now new Oak instead of the pine that had rotten away, and the beam end is a solid lump of treated pine, west epoxied in place. All through bolts have been re drilled and replaced, so now after the covering board join is caulked there should be no more movement in this area, with the associated leaks

without flash it all looks calmer

Frame showing grown oak knee under the deck

Frame showing scarf join
More later as I get on with the nailing up.
Good news is the Planking lumber has been delivered to the wood shop.
bad news is I now have to redo the damaged planks as well!

No rest for the wicked

Roy